An epiphany came to me when I was mad that I couldn’t get my favorite meal delivery. I wanted to order chicken that could be reheated easily and that would arrive in less than 20 minutes. In the 10 minutes I took to decide which sides I wanted, all the meals sold out for the night. I was annoyed and hungry. It led me to a giant pot of my mom’s famous tomato rice soup.
My kitchen and I went through a trial separation. Ultimately, it got so bad that I didn’t do any cooking other than microwaving or boiling pasta for two months. I cleaned out my fridge last week and found some terribly old leftovers. Like, I found leftover jellied cranberries from Thanksgiving old.
Cooking was the proverbial last straw. I went to adult ballet camp for 6 days and only took 2 days off of work. I’ve only worked one week at my recommended hours in the last 4 months. Every time I have tried to take a day off, something has come up. Even days I was in the hospital for surgery. (I might have some issues with saying no and setting boundaries…). But that stress just built. And work became consuming.
I had to reassess
I was killing it at work and knocking out great work for awesome clients. You might even come across this work on Facebook and Instagram. I worked my body into the ground. My health is already not the best and I did everything I wasn’t supposed to. I worked non-stop, skipped dance classes, and I even stopped seeing friends. It got to the point that I stopped cooking and even stopped making easy smoothies. As my health got worse, the spiral deepened.
A couple weeks ago, I decided that I had to stop. I had to start making real food again. It was the fateful night that the gourmet, chef made, reheat at home meal delivery service failed me for the second day in a row. I was hungry and exhausted with nary a fresh fruit or vegetable in the house. The fridge was full of half used condiments, bottles of juice and containers of questionable contents.

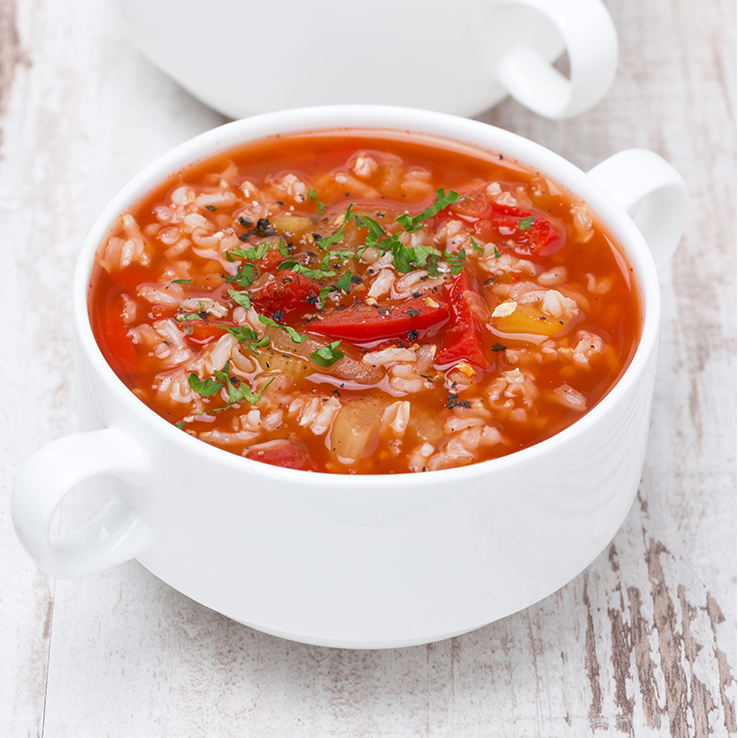
Famous Tomato Rice Soup
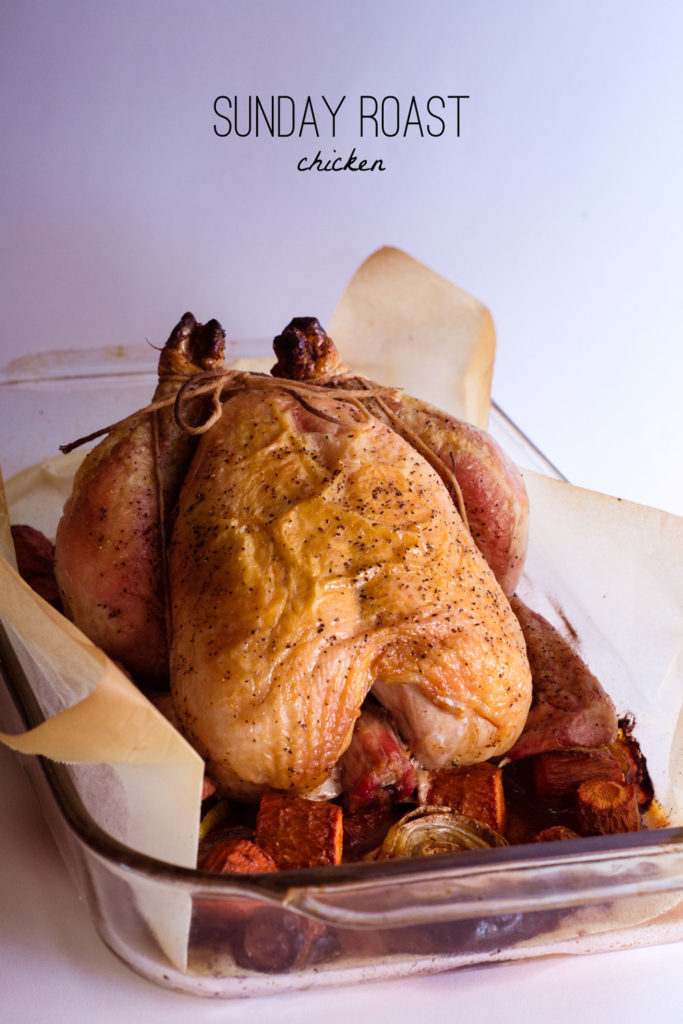
After a large Instacart order of staples and produce and a fridge deep clean, I felt like I could make friends with my kitchen again. I started with one of my favorites, chicken & chorizo paella. I made bacon cookies to bribe a friend to watch a ballet movie with me. And I had a craving for soup. A soup that was part of the regular rotation growing up. Once, a dear friend requested that I ship it to India. My mom’s famous tomato rice soup is incredibly easy to make and requires mostly things you already have on hand.
It starts with a bottle of tomato juice and only requires rice (short grain is best), garlic powder, tomato paste, paprika and a parmesan rind or two. You can eat the soup as soon as the rice is cooked and tastes much better than something made that quickly should.
The flavors
The parmesan rind is the secret to the salty depth. The soup will still be pretty tasty without this, but it will lack dimension. If you shred your own parm, you should save your rinds for soup. If you don’t use enough of the cheese to have rinds on hand, they’re incredibly cheap at the cheese counter at your local Whole Foods. 3 rinds cost me about $1.
Tomato paste intensives the tomato flavor. Tomato juice is bright and light, so including some tomato paste adds layers of depth and a bit of umami to the soup. Adding it at the beginning allows the rice to really absorb the tomato flavor.
Butter adds a richness. The recipe calls for butter rather than olive oil because of the richness and creamy mouthfeel that butter can add to the soup. Also, it starts to brown and creates a nutty undertone to the soup. You can always use olive oil if you need to make a dairy free version of the tomato rice soup.
Mammacakes’ Tomato Rice Soup
-
Prep Time:
5m
-
Cook Time:
35m
-
Total Time:
40m
Ingredients
- 1 tablespoon butter
- 2 teaspoons paprika (smoked if you have it)
- 1 teaspoon garlic powder
- 1 bouillon cube if not using stock (if you don't have this or stock, you can always adjust the seasoning as the soup cooks)
- 1 cup short grain rice (sushi, arborio, sweet brown, etc.)
- 32 fluid ounces tomato juice
- 32 fluid ounces stock or water
Instructions
- In a large sauce pan, over medium heat, melt your butter.
- Add paprika, garlic, tomato paste and bouillon cube (if using). Stir and cook for about a minute. You want the spices to become fragrant.
- Stir in the rice until it is coated in the seasoning. Cook for 1-2 minutes stirring constantly.
- Add in the tomato juice and water or stock. Stir well. Cover.
- Bring to a boil. And then reduce to a simmer. Stir every so often so rice doesn't stick to the bottom.
- When rice is completely cooked, soup is ready to eat. Remove the parmesan rinds. Taste and add salt & pepper to taste. Make sure not to simmer too long or your rice will get mushy and it will be more of a sludge than a soup.
- Soup is great with pesto, pistou, fresh tomatoes or parmesan added on top.
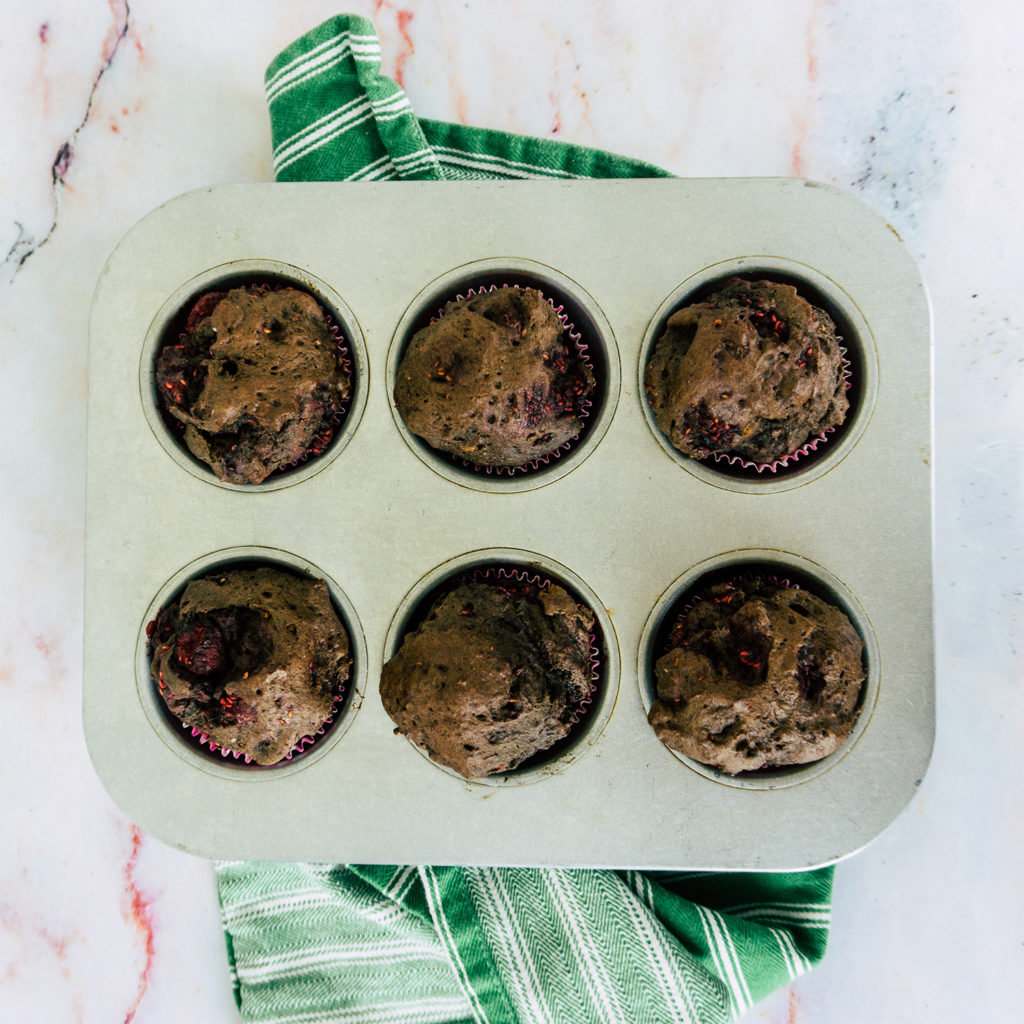

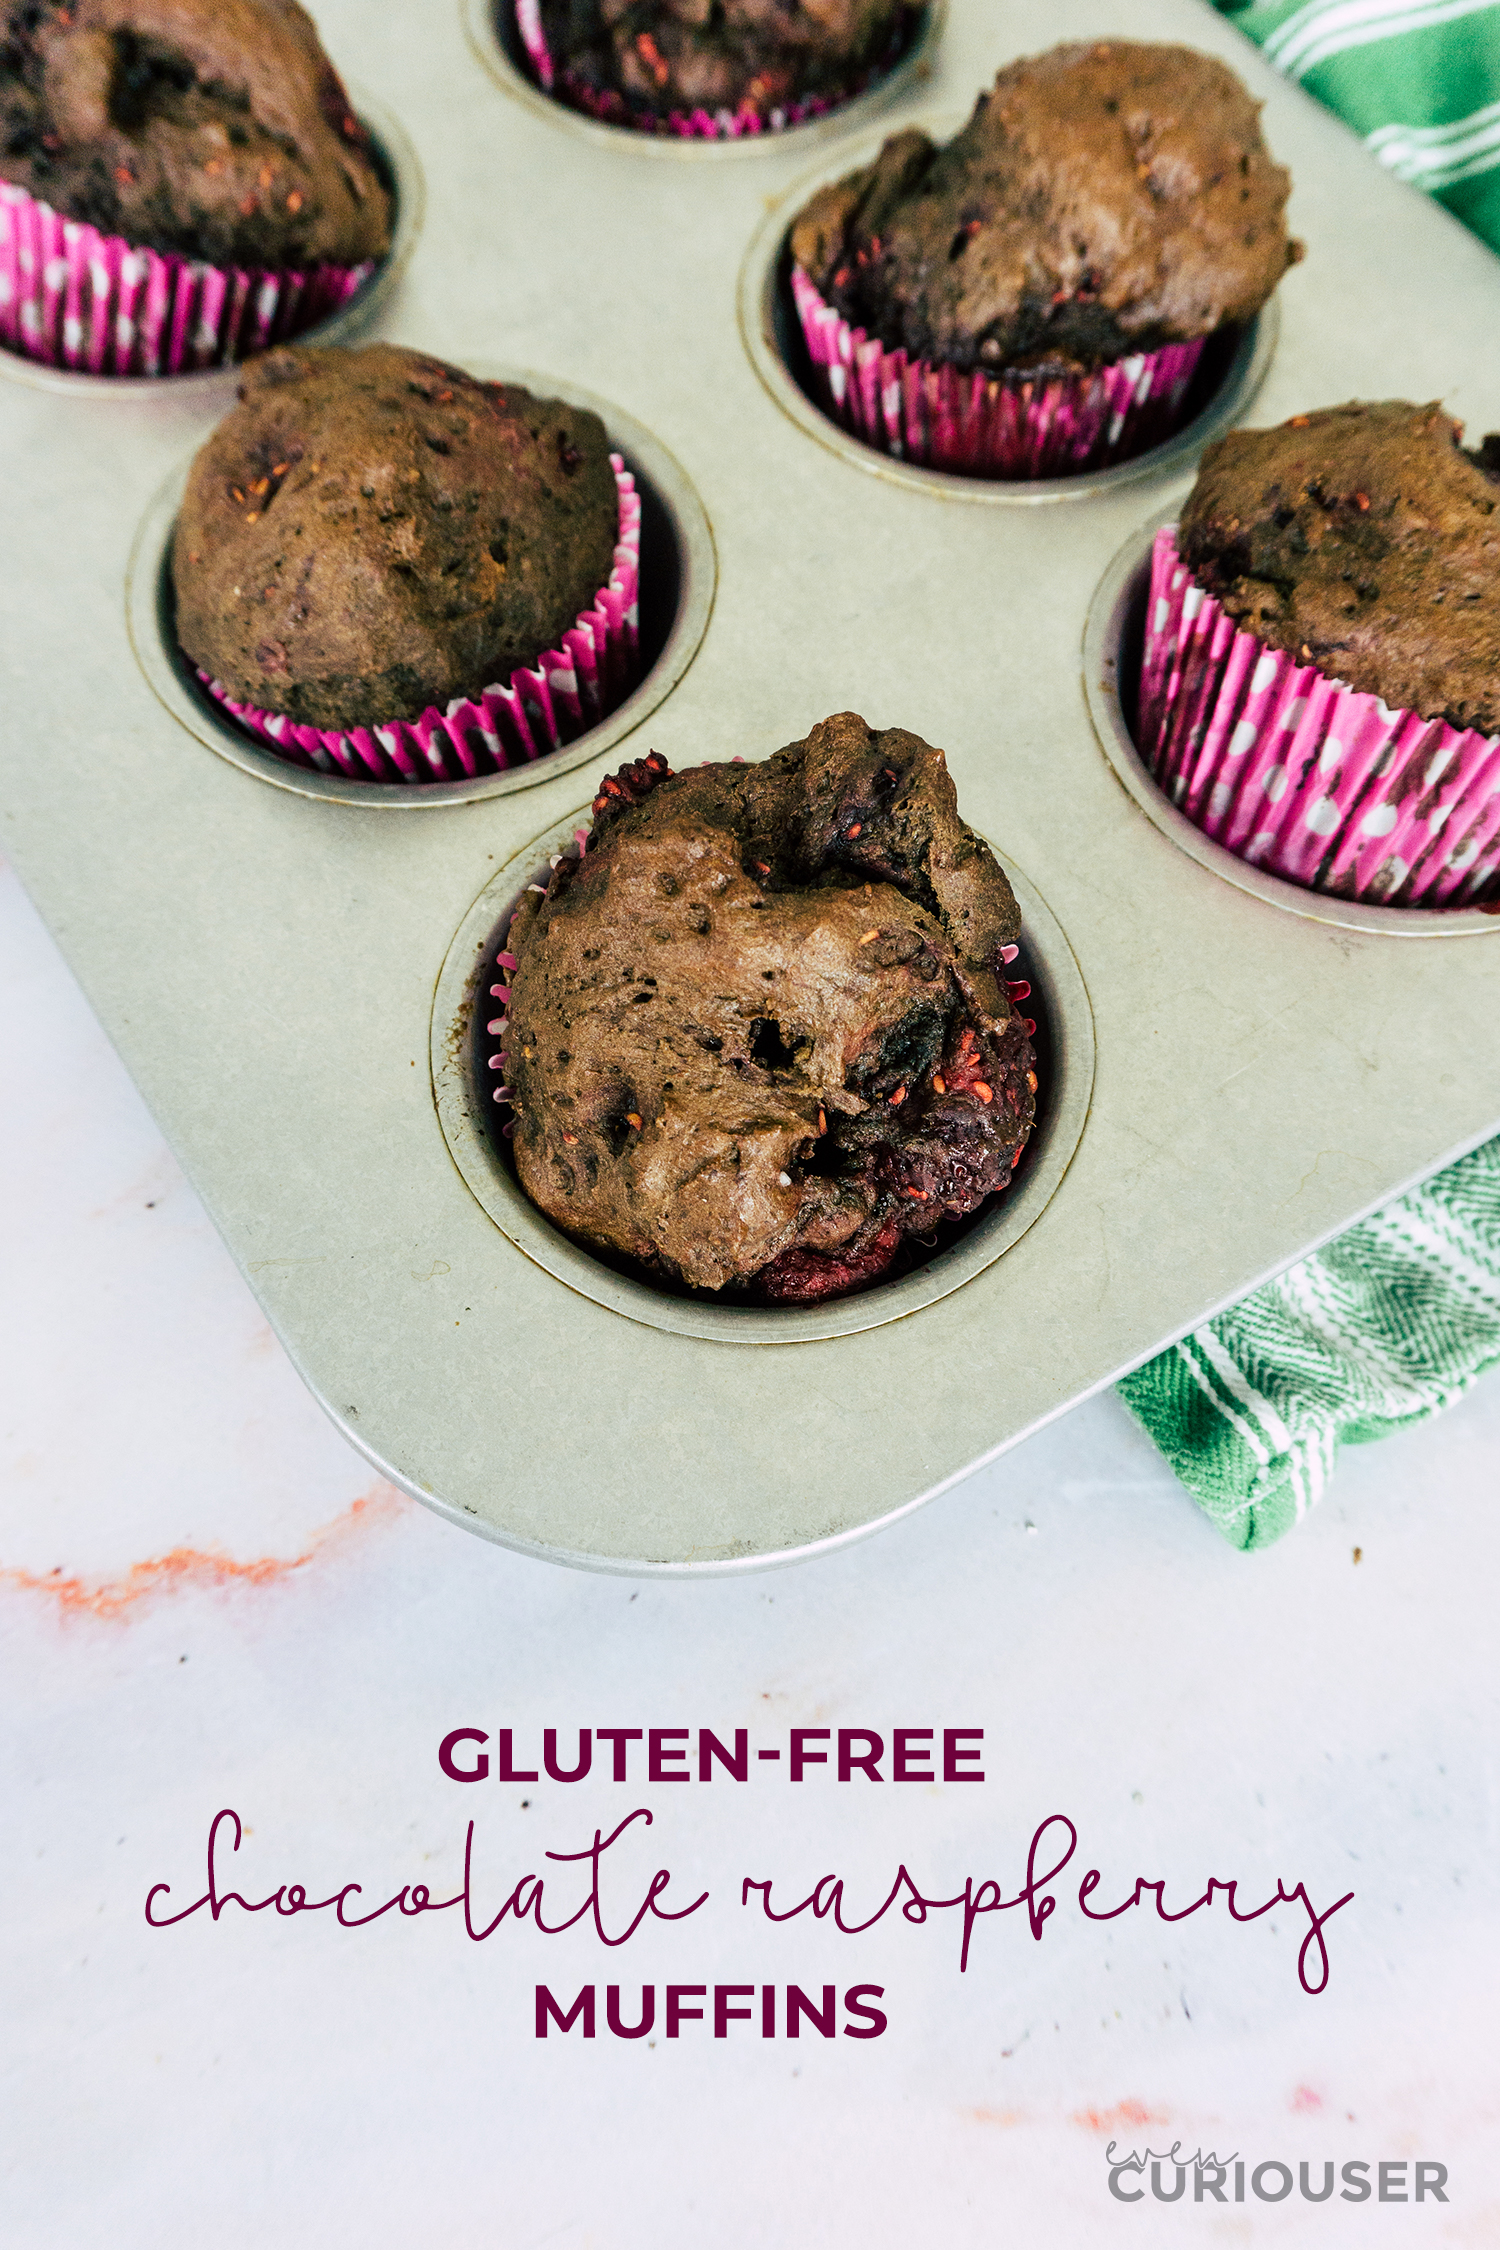
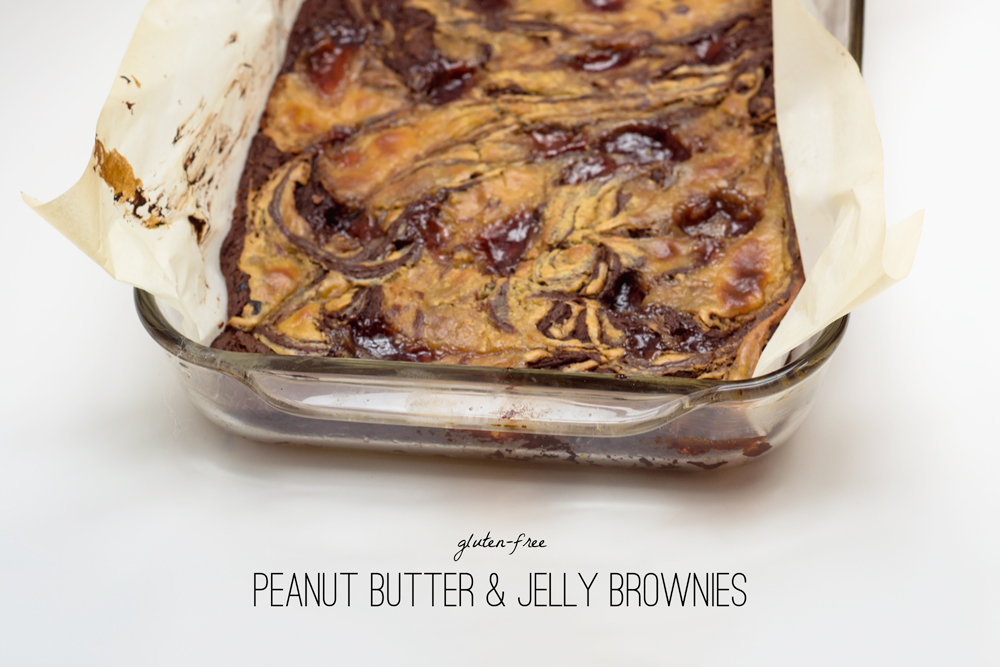
 Muffins are the best. They’re like a baked pancake. Or a breakfast cupcake. These rich, chocolate ones with tart raspberries are simply decadent. *I use Cup4Cup Gluten-Free All-Purpose flour in all of my recipes. Any other blend you use should weigh about 140 grams per cup. Any substitutions should be similar in both weight and …
 I can’t believe I’m giving away the secret of this super easy soup. It’s so easy, I’ve been making it since I was little.