 I was on TV this morning, and I have to tell you, I sure did feel special. I cooked until 1 am last night and packed everything up and at 6:00 this morning I was on my way to the TV station.
I was going to make my 5 minute sauce, but I didn’t have a hot plate. I also didn’t have a lot of food laying around that I could whip up into something fabulous. But, I was itching to try something I have seen on the internet. And, the possibility of exploding food is always exciting. So this, is mostly a guide and a reference point for when I post me crepe recipe tomorrow, you can know (and maybe already have made) this amazing filling.
This is a great way to experiment using an ingredient that you probably only have around because you were making some retro cake or Alton Brown’s Stovetop Mac & Cheese.
Now, go boil some water and make some of the most delicious caramel sauce you have ever had. And watch the video of me explaining it on TV.
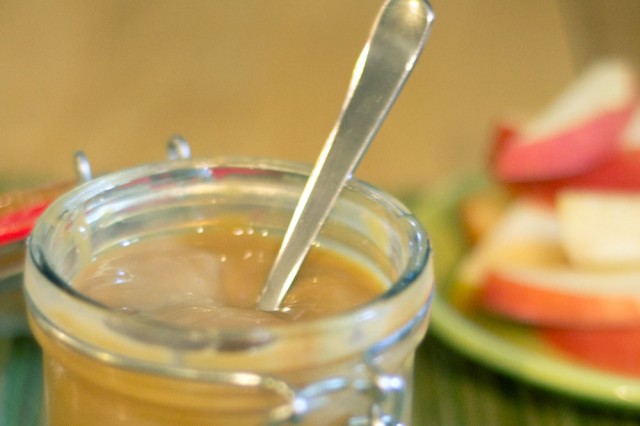
| One ingredient caramel sauce |
|
- 1 14oz can of sweetened condensed milk (Eagle Brand is gluten free)
- In a large pot, bring enough water to cover the can to a boil.
- Shake the can well.
- Carefully submerge it in the water using tongs.
- Check back regularly to make sure there is enough water to cover the can. If water level is getting low, just add more water.
- Once you have boiled for 3 hours, turn off the heat and leave the can in the water.
- Let the can cool in the water.
- When you open the can, you will have delicious caramel sauce.
If you let the water level get lower than the can, you run the risk of the can exploding. So keep an eye on the pot.

 I really love going home. My mom’s kitchen is twice as big as mine and it is filled with exotic ingredients and fancy pots and a tool for everything. (Yes mom, it was me that took the purple sticky rice & the cranberry beans).