Home » nablopomo » Page 2

Tag: nablopomo

In my gluten-free pantry: Canned goods

in my gluten-free pantryI’ve always been able to make a dinner out of seemingly disparate ingredients. You know those nights. It’s been one too many days since your last trip to the grocery store or you got home just a little too late to really think dinner all the way through but you don’t have an emergency box of gluten-free macaroni and cheese on the shelf and you can’t bear the thought of takeout.

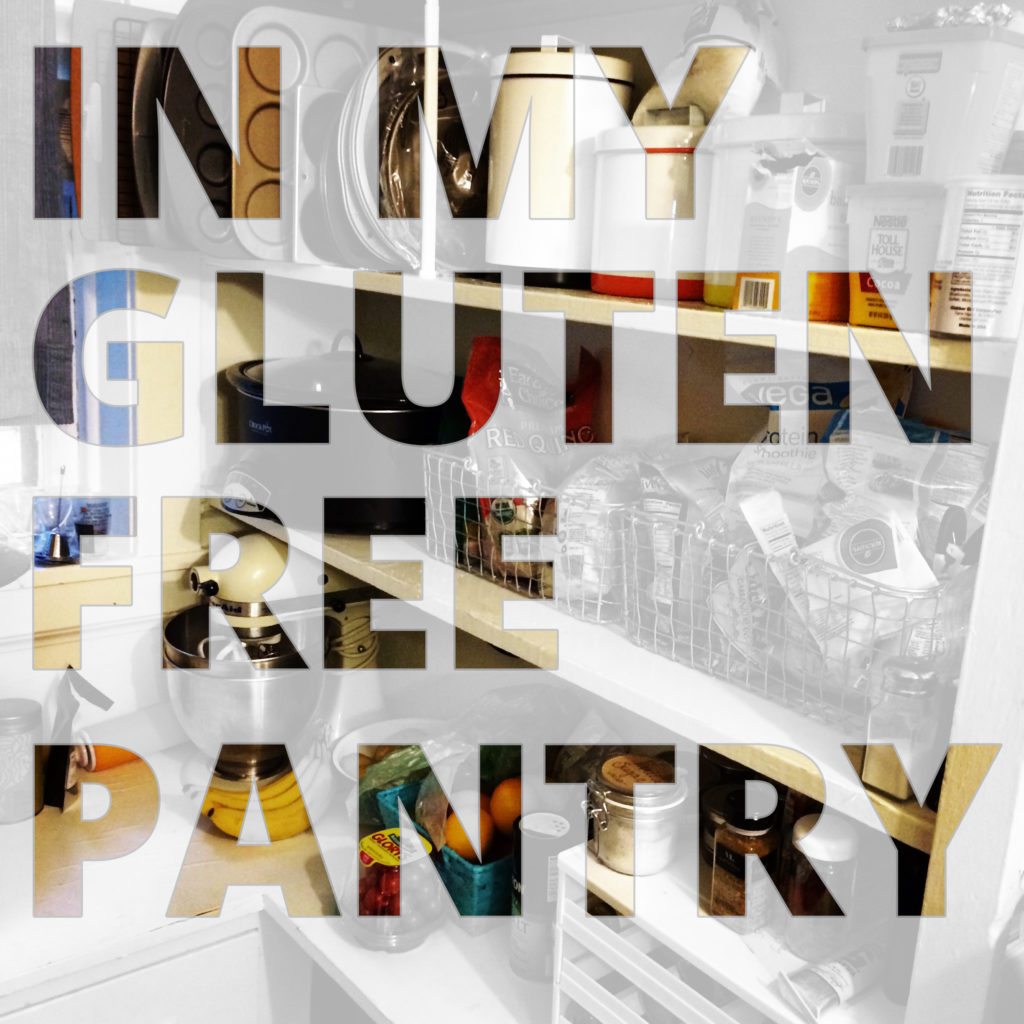
It’s all about keeping some building blocks in the pantry that can be combined or added to a dish to round out a meal.

Beans

I know canned beans are not as good as soaked and cooked beans, but really, I am willing to lose a little bit of texture for the time savings benefit of beans from a can. You can use them in soups and chilli. Bean salad happens to be one of my specialties for weekday lunches. I always have black and garbanzos in the pantry and depending on the season (or what’s on sale) I might add pinto or cannellini beans to my inventory.

Tomatoes

A can or box of diced tomatoes might be one of the handiest ingredients I keep on hand. These can easily be turned into pasta sauce or added to a Tikka Masala. They can be part of a soup or added to rice in place of some of the water. They are a great way to bulk up a veggie soup without having to do any additional chopping and slicing.

Stock

Stock adds flavor not only to soups but to grains such as rice, quinoa, millet and sorghum. It can be used to deglaze a pan when you are sautéing or added to boneless skinless chicken breasts when you bake them. I buy it in boxes rather than cans so that it can be resealed and stored – and if I can find it, some brands make smaller packages that just have one cup of stock which is great when you aren’t feeding a whole family.

Coconut milk

I don’t use coconut milk as often as the other items on the list, but I like to keep a can or two on hand for curries, smoothies and for whipping up a little dairy-free whipped cream when I am in need of a dessert.

gluten-free pb&j whoopie pies | a recipe from frannycakes.com

Gluten-Free Peanut Butter & Jelly Whoopie Pies

Friends are good for a lot of things. Answering the phone when you need someone to talk to about your latest roommate troubles. Volunteering to drink a bottle of wine and “help” with your website. Enabling you to eat that pint of Ben & Jerry’s. Challenging you to make a creative peanut butter & jelly themed birthday treat…for the second year in a row.

And since our friendship was based on a mutual love of an obscure 1-hit wonder girl group (because how else do you know that your friendship is built to last?), I had to come up with something.

After some thought (and brain racking), I thought some peanut butter & jelly whoopie pies would do the trick. Peanut butter cake filled with peanut butter butter cream and jelly. It was just the kind of treat that my friend wanted.

So, turn up your girl power pop playlist and get to baking.

gluten-free pb&j whoopie pies | a recipe from frannycakes.com


Gluten-free PB & J Whoopie Pies
Author: Mary Fran Wiley
Prep time: 20 mins
Cook time: 30 mins
Total time: 50 mins
Serves: 24
Ingredients
  • for the cake
  • 315 grams (2¼ cups) gluten-free all-purpose flour*
  • 1 gram (1 teaspoon) xanthan gum**
  • 10 grams (2 teaspoons) baking powder
  • 5 grams (1 teaspoon) baking soda
  • 3 grams (½ teaspoon) salt
  • 205 grams (3/4 cup) smooth peanut butter
  • 85 grams (6 tablespoons or ¾ stick) butter, softened
  • 100 grams (½ cup) granulated sugar
  • 110 grams (½ cup firmly packed) brown sugar
  • 3 large eggs
  • 1 cup + 2 tablespoons (265 ml) buttermilk
  • for the filling
  • 170 grams (1½ sticks) butter, softened
  • 65-130 grams (1/4-½ cup) smooth peanut butter
  • 675-900 grams (6-8 cups) confectioner’s sugar
  • 2 teaspoons vanilla extract
  • ½ cup (118 mls) milk
  • pinch of salt
  • ½ pint jar of your favorite jam or preserves
Instructions
Make the cakes
  1. Preheat oven to 350 degrees Fahrenheit (175 C). Position one rack in the center and one in the top third of the oven. Grease 2 whoopie pie pans.
  2. In a medium bowl, whisk together the flour, xanthan gum (if using), baking powder, baking soda and salt. Set aside.
  3. In the bowl of a stand mixer, cream together the peanut butter, butter, sugar and brown sugar for 3-5 minutes. You want the mixture to be light and fluffy.
  4. Add the eggs one at a time, beating for 1 minute on medium and scraping down the sides of the bowl before each addition.
  5. Add half the flour mixture and mix on low speed and slowly add the buttermilk.
  6. Scrape down the sides and add the rest of the flour mixture until the batter just starts to come together. Remove the bowl from the mixer and finish stirring with a spatula.
  7. Use a spring loaded ice cream scoop or spoon to add batter to each “well” of the pan.
  8. Bake for 12-15 minutes – they are done when they are golden brown and a toothpick comes out clean. Repeat with the remaining batter.
Make the peanut butter buttercream
  1. In the bowl of a stand mixer combine the butter, 65 grams (1/4 cup) of the peanut butter, 450 grams (4 cups) of the sugar, the milk and the vanilla.
  2. Beat on medium for 3-5 minutes.
  3. Gradually add the remaining sugar 1 cup (115 grams) at a time, beating for 2 minutes after each addition.
  4. When the frosting is firm enough to pipe, stop adding sugar and add the salt. If the frosting is too firm or not peanut butter-y enough you can add more peanut butter. I used ¼ cup and nearly the full amount of powdered sugar. Your results will depend on the humidity, the type of peanut butter and how soft your butter was.
Assembly
  1. Pipe a ring of frosting around the flat side of half the cakes, leaving the center empty.
  2. Fill the center with a dollop of jam and top with one of the cake pieces without frosting on it.
3.2.2807


NaBloPoMo November 2014

In my gluten-free pantry: gluten-free flour blends

in my gluten-free pantry

In the time since I have gone gluten-free, commercially available gluten-free flour blends have changed dramatically. 8 years ago, you could barely find bean-y, gritty blends that, although labeled “all-purpose”, were anything but. Some times I still blend my own flours, I find it simpler to use a blend that behaves the same way each and every time I use it.

C4C – $19.95/ 3lb bag

This is the flour blend that I use most often because it provides consistent results and is readily available from local Williams-Sonoma stores. This blend includes both milk powder and xantham gum. The milk powder promotes browning similar to regular flour and the already included xantham gum makes one less ingredient that you have to keep on your shelf. This blend was developed by Lena Kwak under the supervision of world-famous chef Thomas Keller.

How I’m spending my Friday night. #miseenplace #baking

A photo posted by Mary Fran Wiley (@frannycakes) on Oct 10, 2014 at 7:54pm PDT

GF Jules Flour – $19.95 / 4.5lb bag

Jules made the first AP blend that I could get consistent, delicious results from. Her blend in non-GMO and vegan (no milk powder here) and is made in a facility that is top-8 allergen free. On top of that, Jules is one pretty awesome lady.

King Arthur Flour Gluten-Free AP Blend – $7.95/ 1.5lb bag

This flour is the easiest to get – all the grocery stores in my area carry it and it is available from a variety of national retailers including Whole Foods. This blend comes free of gums so you can adjust the amount used on a per-recipe basis (or leave them out and use an alternative such as psyllium husks.

Other blends

The market is full of exciting new products, including use-specific blends from Karen at Blackbird Bakery or a kickstarter-backed blend from Gluten-Free Girl. it is a different market than what existed when I first went gluten-free and the options out there are incredible and growing.

What’s your favorite gluten-free flour blend?

NaBloPoMo November 2014

ginger whiskey 1-apple crisp | a gluten-free recipe from frannycakes.com

Ginger & Whiskey 1-Apple Crisp

I love pumpkin and pumpkin-spice everything. But for me, the real star of fall is the apple. Sure, you can get apples year round, but they are at their best right from the orchard in the fall here in the Midwest.

Sweet and tangy. Crisp and juicy. I mean, what’s not to like?

Throw in a trip to the orchard with some of your friends to pick some of your own, and apples are pretty much the best ever.

frannycakes and friends went apple picking

I can’t resist a bag full of my favorite fruit – my willpower is so poor that I came home with 10 pounds of Pink Lady apples. You know, to feed the gnomes I have hidden in the closet.

With a kitchen that is too small to make and can apple sauce or apple pie filling and a decidedly smaller number of gnomes to eat my food than I had thought, I had to get creative with how I used up those apples. One of my favorite easy desserts is apple crisp. I can whip one up without a recipe and can make it in any size from single serve to crowd-sized.

This time, I wanted to do something special. (And I wanted to do it in a way that didn’t involve a dessert for a crowd).

So, dear reader, meet my Ginger & Whiskey 1-Apple Crisp.

ginger whiskey 1-apple crisp | a gluten-free recipe from frannycakes.com

The whiskey is millet whiskey* from a local distillery along with some fresh ginger to spice things up.

Koval Millet Whiskey found at the Green City Market

To make this truly gluten-free, you need to make sure your oats are certified. Gluten-free oats are available from a variety of sources – recently I found some from Chex at the local super market, but they are available from Bob’s Red Mill as well. You could also use quinoa flakes if you are allergic to oats.

gluten-free apple crisp ingredients

Ginger & Whiskey 1-Apple Crisp
Recipe Type: Dessert
Author: Mary Fran Wiley
Prep time: 5 mins
Cook time: 35 mins
Total time: 40 mins
Serves: 2 servings
Gluten-free oats are crucial to make sure that this dish is safe for gluten-free diets. The measurements here don’t need to be too precise. I make apple crisp regularly by measuring in handfuls – so no stressing about being perfect.
Ingredients
  • 1 large apple (or 2 small apples), tart baking apples such as Pink Ladies or Granny Smith are ideal, but any apple will work
  • 2 tablespoons whiskey*
  • 1/2 teaspoon grated fresh ginger, divided
  • 3 tablespoons butter, very soft or melted
  • 1 cup gluten-free oats
  • 1/2 cup brown sugar
  • 1/8 tsp salt
Instructions
  1. Preheat oven to 350 degrees fahrenheit.
  2. Slice apple into even slices – I leave the skin on, but you can peel the apples if you want.
  3. In an oven-safe bowl or 5-6inch baking dish, toss the apple, the whiskey and half the ginger.
  4. If your butter is fresh from the fridge, go ahead and put it in the microwave for 20 seconds. It’s ok if it melts.
  5. In a medium bowl, combine the remaining ginger, butter, oats, brown sugar and salt. I use my hands to mush it together.
  6. Crumble the topping over the apple slices in your bowl or baking dish.
  7. Bake for 30-40 minutes, or until the apples are soft and the topping is golden brown.
Notes
*Gluten does not survive distillation, so any high-quality whiskey without added colors or flavors should be safe for someone on a gluten-free diet. To be extra sure, I used a Millet Whiskey from Koval Distillery, a local Chicago company whose whiskey is available online.
3.2.2807


*Gluten doesn’t survive distillation, so any whiskey that doesn’t have added colors or flavors should be safe on a gluten-free diet. It’s proven science. However, some people are sensitive to other parts of the grain that do survive distillation, so please don’t use it if it bothers you. The millet whiskey I used can be found online and through high-end liquor stores.  You can always leave out the whiskey or replace it with a dark or spiced rum.

This is not a sponsored post, and I did not receive any free items to cook with. Koval is a distillery that happens to be in my neighborhood and they make an awesome whiskey from Millet. The Chex Gluten-free Oats were the ones I just happened to have in my pantry.

NaBloPoMo November 2014

some lovely things about gluten-free living

Relish 20: Pumpkin spiced days #nablopomo

some lovely things about gluten-free livingThis Relish is a little different. It isn’t so much a roundup or list of amazing gluten-free things but an introduction to the next 30 days and a welcome back to this blog.

I woke up and it was November. I’m not really sure what happened to September and October. How they managed to fly by and leave me plopped right in the middle of fall.

It’s boots weather and the leaves are ablaze in shades of yellow and red. And I think, fingers crossed extra tight, that I have taken my last trip to the hospital for the year (other than for checkups). Mostly, because it keeps taking me away from my love of food. My love of baking.

I decided, with the encouragement from friends all too willing to talk me into crazy plans, to post a new blog post every day this month. It will be a mix of new recipes, gluten-free baking basics and photos from life on the tasty side of the second city.

Dragon eggs! #glutenfree chocolate @sunbutter cake balls with homemade fondant.

A photo posted by Mary Fran Wiley (@frannycakes) on Nov 11, 2014 at 2:09pm PDT

I’ve gotten back to baking. I’ve been cooking my way through recovery. And I can’t wait to share this with you all again.